How to Install Minecraft PE Skins for Windows 10 Edition
This short tutorial will teach you how to install skins for Minecraft: Windows 10 Edition Beta. And since we provide a large index of Minecraft skins you can install skins without leaving our website!
1. Go to the skins section on MCPE DL and download the skin which you want to use.
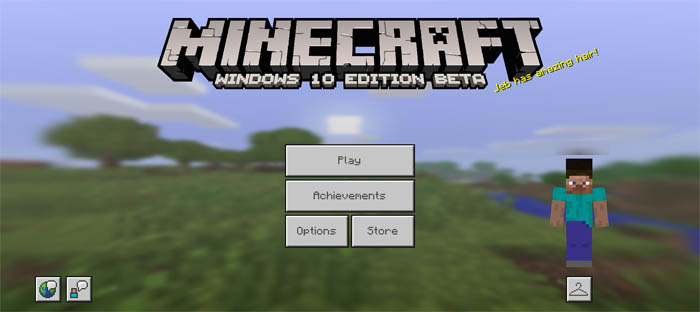
2. Start Minecraft: Windows 10 Edition and click the button which looks like a clothing hanger.
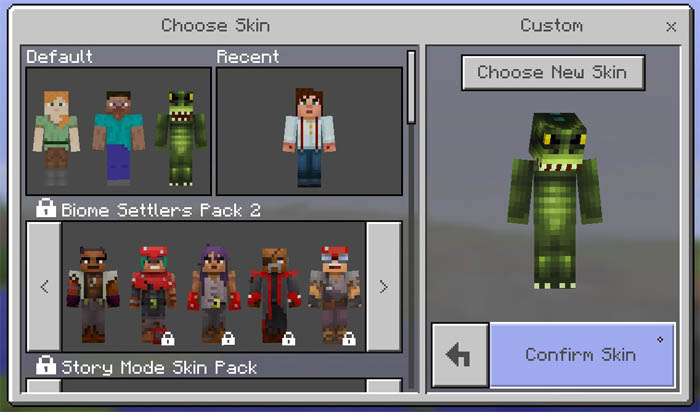
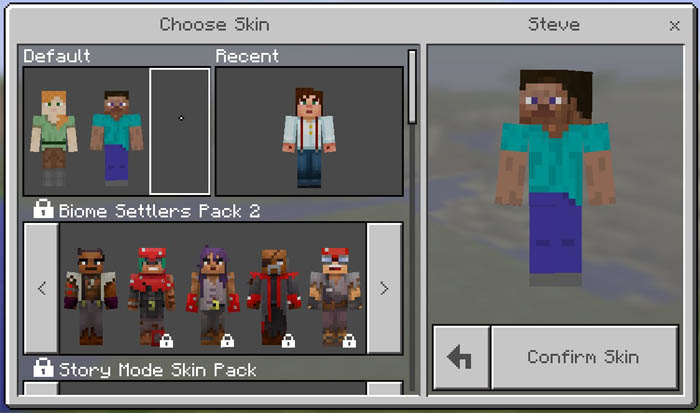
3. Click on the empty space next to the Alex and Steve skin.
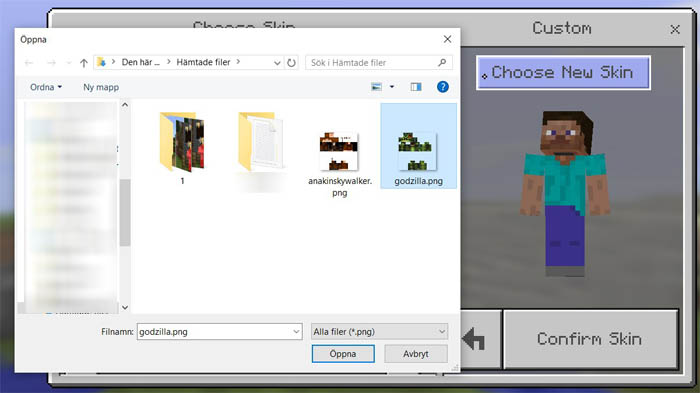
4. Then click on the "Choose New Skin" button above the default skin. Find the downloaded skin in your downloads folder and double-click it.
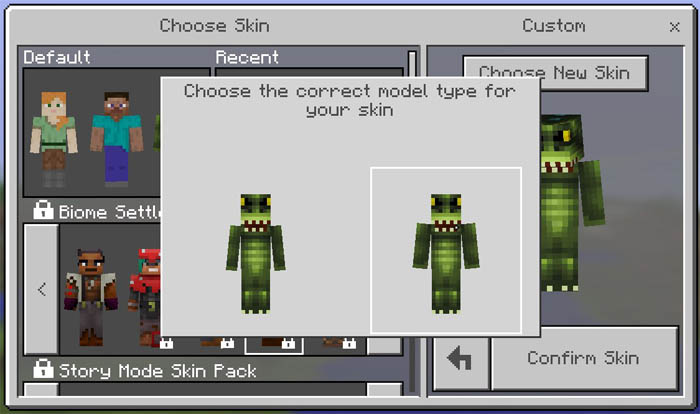
5. Select the model which suit the skin best. The difference is the arms. The model on the left has 3 pixel arms and the model on the right has 4 pixel arms.
6. Click confirm skin.